Why Compressing Images is So Important
Compressing images is crucial for improving website performance and user experience. Large image files can slow down your site, leading to longer load times and potentially driving visitors away. Compressed images help reduce file sizes without sacrificing quality, ensuring your site loads quickly and efficiently. This not only enhances the user experience but also benefits your site’s SEO, as search engines favour faster-loading websites.
What Formats Can You Compress on Webflow?
Webflow supports compressing various traditional image formats, including .jpg, .webp, and .png. However, it does not support compressing .svg or .json files. By using Webflow’s built-in compression tools, you can easily optimise your images to improve your site’s performance. You can choose to compress your images into WebP or AVIF.
Step-by-Step Instructions to Compress Image Assets in Webflow
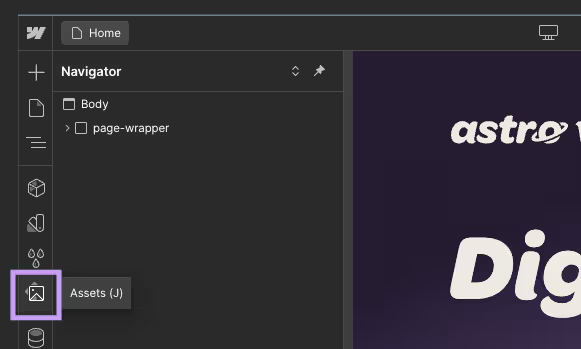
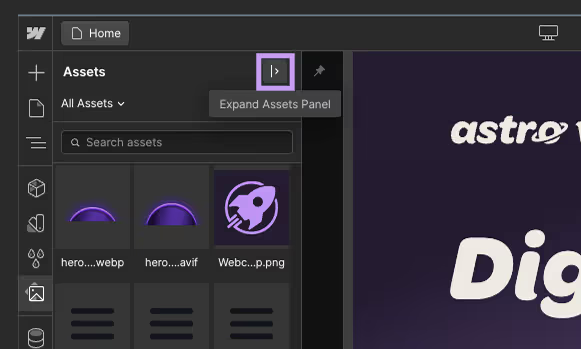
1. Open up your assets panel in the Webflow designer and expand the panel
Access the assets panel by clicking the image icon in the Webflow designer. This panel contains all the images and files used on your website.
2. Select the images you want to compress
Browse through the assets panel and select the images you want to compress.
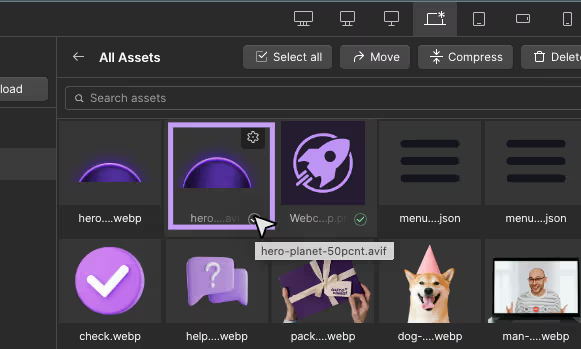
Top Tip: If you’re tired of selecting images individually, you can search for a file format (e.g., .jpg) and press “select all.”
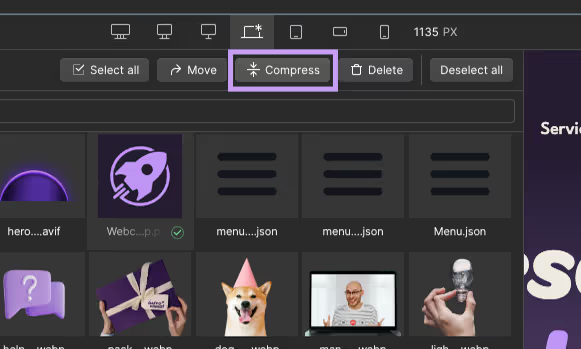
3. Click compress at the top of the asset panel
At the top of the assets panel, you’ll find a “compress” button. Click it, and you will be prompted to choose the file format you want to compress your images into.
4. Select which file format you want to compress into
Choose the desired file format for compression (e.g., .jpg, .webp).
If you're not sure which format to use, see our article on the differences between AVIF and WebP.
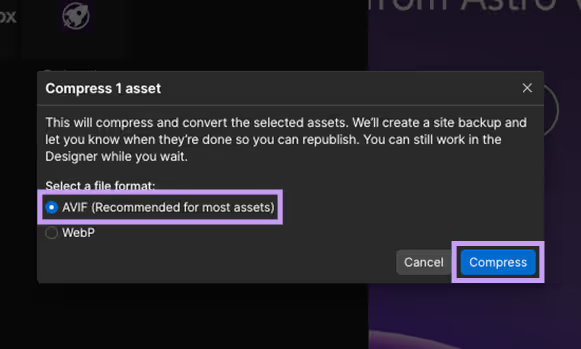
5. Click compress
Click the “compress” button, and Webflow will start compressing the images. You’ll receive a notification once the process is complete.
6. Republish your site
Don’t forget to republish your site after compression to ensure the optimised images are applied.
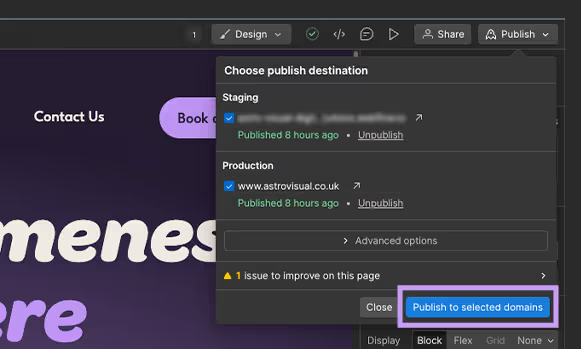
How to Compress Assets in a Webflow Collection
1. Open up the CMS Collection panel
Click on the CMS Collection panel in the Webflow designer to access your collections.
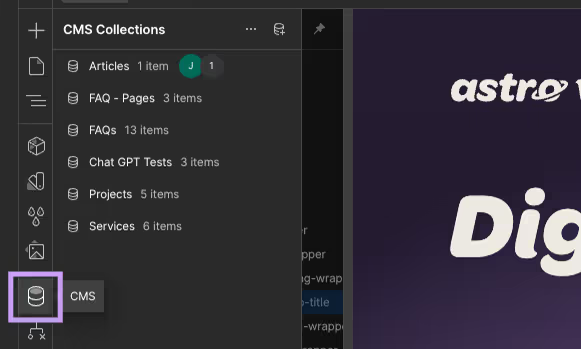
2. Select the CMS Collection Containing the Assets You Want to Compress
Select the specific CMS Collection containing the assets you wish to compress.
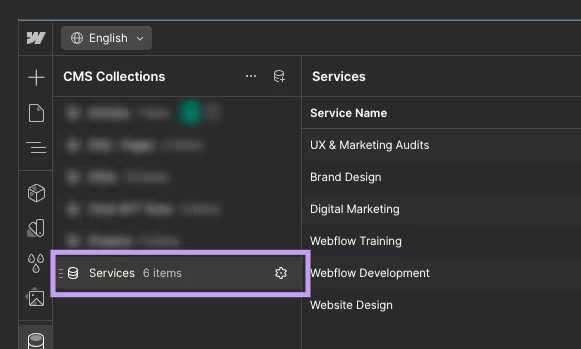
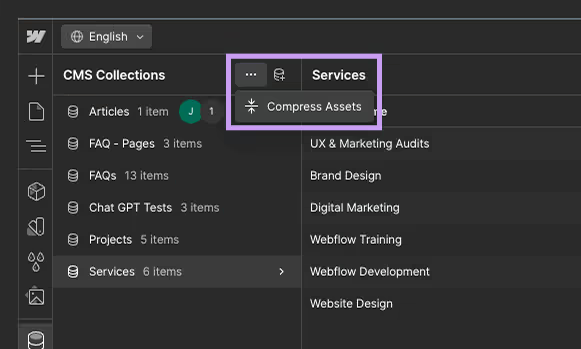
3. Click on the three dots next to the ‘Create New Collection’ button
Click on the three dots, and select ‘Compress Assets’.
4. Select which file format you want to compress into
Choose the desired file format for compression (e.g., .jpg, .webp).
If you're not sure which format to use, see our article on the differences between AVIF and WebP.

5. Click compress
Click the “compress” button, and Webflow will start compressing the images. You’ll receive a notification once the process is complete.
6. Republish your site
Don’t forget to republish your site after compression to ensure the optimised images are applied.

By following these simple steps, you can efficiently compress images in Webflow, enhancing your website’s speed and user experience. Remember, regularly optimising your images is a key part of maintaining a high-performing website.